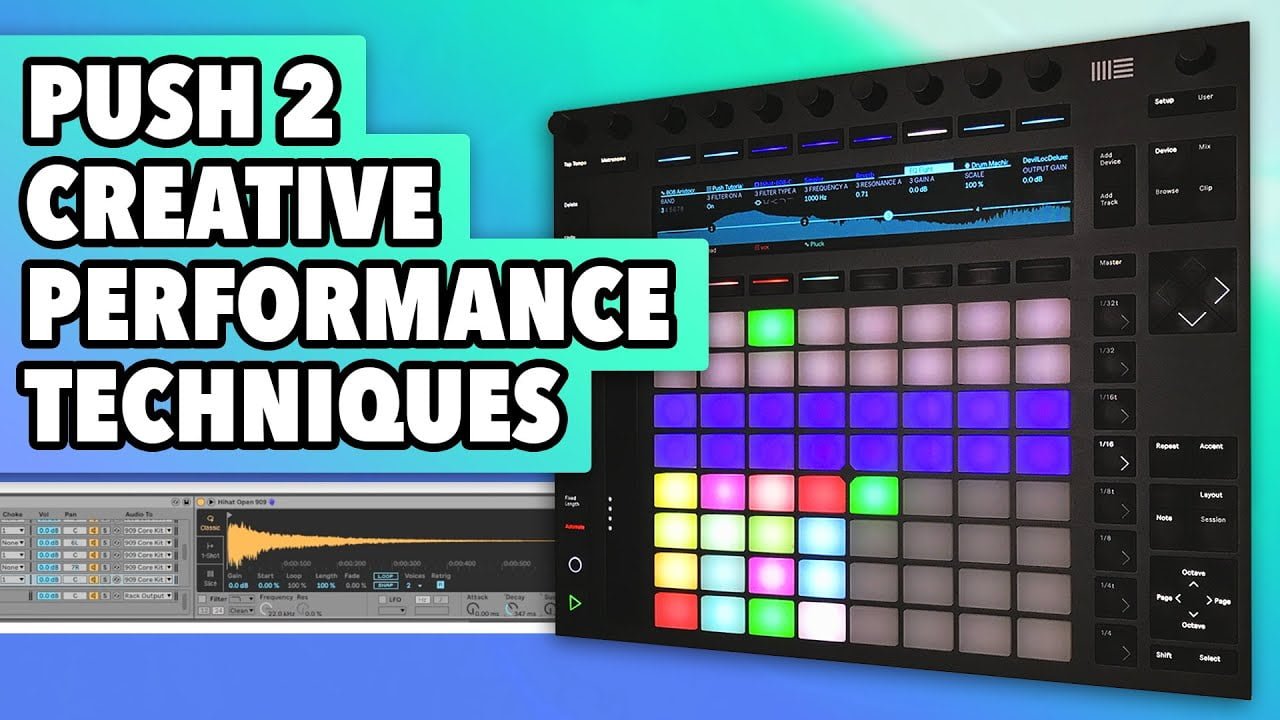
https://www.youtube.com/embed/Z8XU3HRSUgI
Push 2 - Creative Drum Performance Tricks Hey everybody!
In this Tutorial we will focus on Unconventional Techniques to use Push 2 as a performance-oriented drum machine I'll share 8 Tricks and other Tips that I think you'll find helpful if you own Push 2 and want to use it as a Performance Instrument Tried to organize infos in the best way possible.
You'll see Red text boxes, like this one, containing conceptual and introductory informations Then you'll find these Blue boxes, where I put technical infos about what I'm doing with my hands, and actions taken in Ableton Live Finally, I highlighted some Push buttons and areas where I thought it was needed Ok, let's start! Trick #1- Quick Pattern Switch This is the Drum Rack we'll use today The Most important Thing when performing with Drums is the ability to edit Non-Playing Patterns and switch to them while keeping full control of the Drum Kit Normally, to change between 2 drum Clips with Push 2, we would move to the Session View and Launch Clips, like in this example But today we'll see a method to include more Patterns in the same Clip, to quickly edit Non-Playing Patterns and to switch back and forth without leaving the Note View To do this we'll create a new empty Clip (in this case it is 2 bars long).
And then move to the Note View making sure we selected 16 steps resolution Ok, now we can split the 2 bars Clip in two separate 1 bar Patterns, and switch between them, using the Loop Selector on the right - Loop Selector - Pattern 2 - Pattern 1 If you can't see the Loop Selector just click the Layout button to rotate between the 3 different layouts Here we have 2 Patterns:
1 with Kick and Open Hat
2 with a Closed Hat added
Let's switch between them TRICK #2 - Progressive Arrangement Now, let's try to Sequence Drums in a performative way!
Keep in mind that we can only visualize 2 Patterns at a time on the 32 step note grid Creating Pattern 1:
Kick on the Downbeats
Open Hat on the Offbeats
Tip: use the Select button to choose kit elements We can use the Double Loop button to create Pattern 2.
Then use the Loop Selector to stay on Pattern 1 Playing Pattern 1 while adding a 16th note closed HiHat to Pattern 2
We can then switch to Pattern 2 Now, let's repeat in the second row.
We'll use the Duplicate button to copy Pattern 2 into Pattern 3, and then Double Loop to create Pattern 4 Playing Pattern 4 while editing Pattern 3, adding a Snare and a clap fill on the last two steps
Then switching to Pattern 3 Let's repeat one more time:
Duplicate Pattern 3 into Pattern 5, then use Double Loop to create Pattern 6 Playing Pattern 6 while editing Pattern 5, adding High, Mid and Low Toms
Then switching to Pattern 5 Here is how my Pattern grid looks like.
I did it this way to keep every varied Pattern (1, 2, 3, 5) at hand, to easily launch them.
I will need this later.
Patterns 4 and 6 served as a playing support while sequencing other Non-Playing Patterns TIP: the Clip View contains an overview of your created Patterns TRICK #3 - MUTE AND SOLO Would be very nice to make smoother Transitions between Patterns..
Let's try to use some Drum Kit parameters to do it! One of the most important things in electronic music is the Kick.
So we'll try to Mute and Unmute it to make Transitions Let's just mute the Kick using the Mute button, 1 bar before the Drop.
When ready we'll Unmute the Kick, changing Pattern at the same time Mute button + Kick pad
Mute button + Kick pad + Pattern Selector And you can use the Solo button in the same way!
On the HiHat for example Solo button + Closed Hat pad
Solo button + Closed Hat pad + Pattern Selector Can you see why I need Patterns at hand? ;) TRICK #3 - MACRO KNOBS Another nice element to create Movement with Drums is the Hats Decay So, let's Map both (Open and Closed) Hats Decay to first and second Macro Knobs Ok, now we can use this Decay to anticipate Transitions Let's try it along with the Mute Kick Trick! Raise Hats Decay
Mute Kick
Unmute Kick and Change Pattern
Decrease Hats Decay There are other Drum Parameters that you can Map to Macros to make Transitions.
Find 'em explained in the Tutorial up there. TRICK #5 - STEP ACCENT A Feature that i miss on Push 2 is the Step Accent. Basically a way to set velocity for the whole drum kit or parts of it, per step, without editing every single instrument It's a quick and easy way to add groove in busy Patterns. Like in this example To create the Step Accent, let's Map various instruments Volume to the same Macro knob.
I did it for both Hats, for all the Toms and for the Bass Ok now let's slightly rotate the Macro Knob to add Groove We can also record it as an Automation Yeah!
And it gets even better with a touch of Swing Rotate the Swing knob
then click Quantize to commit Love it! TRICK #6 - SNARE ROLLS We will now create some Snare Rolls to vary our Transitions.
So we'll sequence the Snare Roll and map its Volume to a Macro Knob, to gradually bring it in Sequencing a 16th Snare Roll
Gradually raising its Volume
Switching Pattern Nice!
Let's try it coupled with the Mute Kick Trick Gradually raise Snare Volume
Mute Kick
Unmute Kick/Switch Pattern We can even use the Note Repeat Feature to Play/Record our Snare Roll Recording Snare with Note Repeat
Gradually raising its Volume
Switching Pattern TRICK #7 - SAMPLE SWITCH ROLLS Ok, Snare Rolls are pretty standard...

But I included them because I wanted to show you this one! What's this??
Let's see! Basically what I'm doing here is switching the Snare Sample in real time, creating glitchy effects and fills.
Let's see how to set this up in Ableton Live First, we need our Snare to be in a Sampler device, not Simpler.
Because Sampler supports multi-layer samples Clicking on the Zone tab we'll open this window, where we can see our Snare sample Let's drag in a bunch of random Snare samples Now we can click on the "Sel" button, select all the samples, right-click and choose "Distribute Ranges Equally" Finally let's Map this little blue bar, the Sample Selector, to a Macro Knob Sequenced a 16th Snare Roll
Randomly tweaking Sample Selector and Snare Volume TRICK #8 - FULL ABLETON INTEGRATION How to integrate all these things into an Ableton Live full Project, with other instruments, scenes, ...? First, we need to organize the Performance into Scenes.
Here I have one with just the Drum Kit, another with a Pad, another with some Vocals and a Pluck Synth IMPORTANT: We'll always need just one Drum Clip, so we should remove the Stop Buttons for the Drum Track in every scene But we still need to focus on the Drum Rack, and we can't use Push to launch Scenes..
So? We can use any Midi controller with pads or buttons to Map the Scene Launch There are even free iPhone apps to do that I'll use my favorite: the wonderful Touchable iPad app.
It works on iPhone too, but it's not free. Now let's try all these Tricks in full context! Pattern 1: Sequencing Kick and Open Hat
Doubling to create Pattern 2 Pattern 1 Playing.
Sequencing 16th Closed Hat, Bass notes and an offbeat Stab
on Pattern 2 Increasing Hats Decay,
Muting Kick
Switching to Pattern 2/Unmuting Kick Duplicating and Doubling to create Patterns 3 and 4
Recording Step Accent Pattern 3 Playing.
Sequencing High, Mid and Low Toms on Pattern 4 Increasing Hats Decay,
Opening the Stab Filter
Muting Kick
Switching to Pattern 4/.... (Yes it was a mistake..)
Increasing Hats Decay to Unmute Kick Opening the Stab Filter
Increasing Hats Decay
Muting Kick
Launching Scene 2 Tweaking Hats Decay
and Stab Filter
Launching Scene 4 Increasing Vocals and Plucks Volume
Tweaking Hats Decay
Unmuting Kick Muting Ride Cymbal
Sequencing 16th Ride Cymbal
Muting Kick
Unmuting Kick and Ride Cymbal Sequencing 16th Snare Roll
Raising Snare Volume
Switching Snare Sample Switching Snare Sample
Tweaking Hats Decay
Switching to Pattern 2
Launching Scene 2 Don't forget to SUBSCRIBE if you liked and please let me know your feedback I hope you enjoyed this Tutorial.
Check out my Jams too, maybe you'll find some more useful ideas.
Take care! ;).
https://howtoplaythedjembedrums.com/creative-performance-techniques-ableton-push-2-tutorial-unconventional-drum-sequencing-tricks/
No comments:
Post a Comment